Pages

Showing posts with label Deco. Show all posts

Tuesday, May 5, 2015

A wooden elephant stand for a card

Let's get back to making more detailed DIY posts, right? Though my internet connection is still poor, and there's no amelioration in sight (yes, believe me, though I can hardly believe myself as I'm writing those lines), and the DIY's are longer, picture heavy, and hence demand more upload time, let's take a risk!

That elephant from the previous post - he needed a card, and he got one. Here's the break down.

That's not an ordinary card, all together that's looking more like nursery deco. It's a wooden elephant, made of three parts - equal in outline, and one of three (the middle one) is cut so that there's a slot when I assembled them. In this slot we put a card.

Actually why not make a simple double folded one, with an elephant on a cover and call it a day? Too simple, right? Yep - actually this card had to give place to eight or ten inscriptions, and in a double folded one that would look messy, and nobody would probably bother writing more. Keep reading - that's fun, and great, when people take time and write more - jokes, thoughts, comments, tipps, own souvenirs, anything that's longer than two lines. Hence this card would (and I'd outline and insist while giving it for inscriptions) to take time and write. Something special. Everybody can write something special if he/she takes time, I believe.

I wanted to make a folded card - sort of dividing it all in pages, yet being all on a one piece of paper. There're fabric inlets to divide, create some visual interest, and match the stuffed toy I've made previously.

Well, back to the elephant - it's a sturdy one, my plywood was 9 mm thick, threefold it brings to 2,7 cm, slightly over 1", so it stands pretty well. This elephant wasn't initially planned. It came as an answer to the question - how to make a folded card look nicely and not fall apart without any ribbons of other closing/holding together fussiness. The elephant was the answer, made as a stand, to slip the card into and hold it perfectly.

That's all, try it out, it doesn't take long if you have some basic sawing experience, pay attention to exactly where you cut, and have some patience for sanding. Mines weren't exactly perfectly equal, so yes, I've spent one evening watching a movie and sanding - but that doesn't sound that bad, right?


Wednesday, March 25, 2015

"HOUSE"-pillows, a stuffed lion toy and other randomness

Last couple of months were full of weird projects, that's why I've been a bit more silent as usual, like: do I want to blog about them or do they stand out too far for what I used to share here? Am I going to confuse the readers or can they handle this?

These were the questions I've tried to answer and failed. They led me all inevitably to the question like what is this blog for me? Normally it's sort of a diary for most bloggers, so that means I should possibly just talk - about whatever happens in my life and whatever comes along, personally and/or creatively. I'm not that huge at talking about personal stuff, neither on the blog, nor in my normal life. Maybe one day I can. Maybe not. I'm fine for now with the sentence like "I make stuff". And I don't necessarily speak, nor would I possibly take my time to speak. It seems somehow pathetic to me to speak about myself or what I'm doing. Speaking is like pretending I have some valuable information/knowledge to share. Mostly I do not have. Even less while talking what my life is about. Sounds controversial for a blogger, right?

Here's one point: back in my twenties, somewhere at the beginning, I did have that urge to speak, and spoke a lot. Not only in twenties, but also at the very beginning af this blog - about parenting, creativity, resolutions, etc. And then it's gone. Talking on those topics bums me out because I feel like I'm taking myself too important and I don't like it. Blogging for me is a special form of speaking, actually made up of writing, which means like "advanced", thoughtful speaking, and teaching, and showing, and actually is pretty unintrusive - you can stick to it or leave it somewhere in the middle of the post without being rude to me.

Back to the what's the point of blogging? Surely not a diary. Too inconsistent and random. Is it a creative diary? Sometimes, or many times, and yes, more often than not, I feel like in a perfect world I'd like this blog to be more of a portfolio. But for some weird reasons it's a slippery slope and here I am, spending weeks working on something that is not fitting in. And you get no updates for months. Because I hesitate. I apologise sincerely, I do.

So please, met another one of those "outcasts" - I think I should give it a try and just talk about random creative stuff happening right now.

I had a custom order for a baby boy's nursery - blues (unusual greyish blues and ultramarine blues), light blues, and fabric with tribal pattern. I committed to make "house" pillow cases. They were easy, and simple. And a bit too "rectangular" for my style, so I ended up adding some curves by sewing a stuffed toy -  a lion. This one came spontaneously, and I like how it rounds up the serie. Now all I have to do is a matching greeting card.

The pillows have inlets  -  "house" shaped -  which will be stuffed with polyester filling and put inside the "house" pillow cases. I haven't filled them because I'll be mailing them and they need to be flat. I'm not showing you how they look like filled because filling causes distortion and that's pretty unpleasant, bulky and curvy in picture. Not in real life where they are all cuddly and bold and make a very nice statement.


Wednesday, December 10, 2014

Christmas tree balls - DIY tutorial with kids

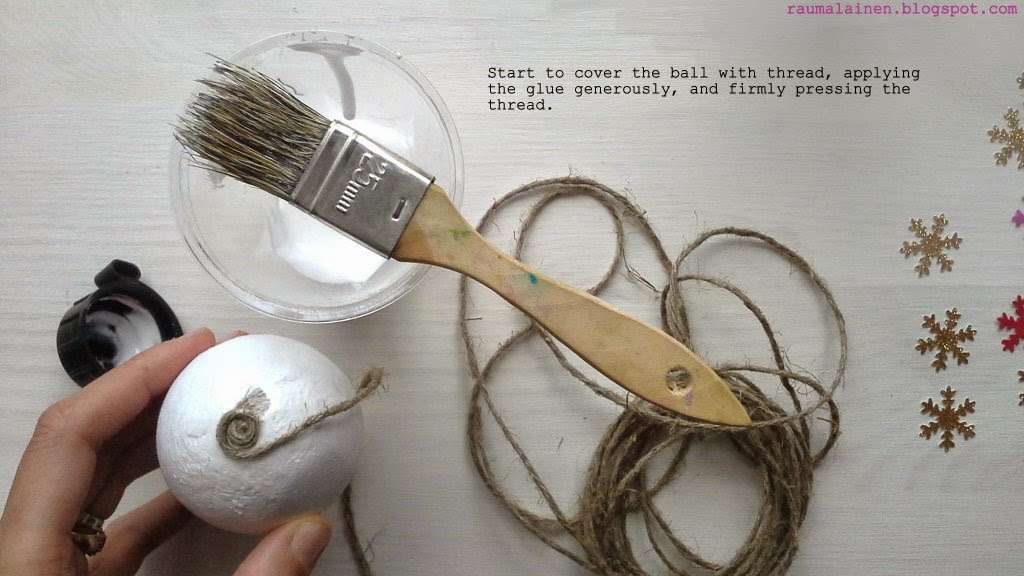
Another simple project where you only basically need: styrofoam (or paper mâché) balls, linen thread and some paper scraps (optionally salt dough, wooden beads and fabric scraps for bows).

This was a small project being part of Christmas crafting workshop I've made recently with kids. And this one was the last in a row and the most simple one - the kids only had to put snowflakes and make stars of salt dough.

I think this idea of thread covered balls has many other possibilities - as for application. Layering different kinds of materials is for example one of those. Stay tuned for more ideas!


Friday, September 12, 2014

Pillow case in monoprinting technique

Last month we've made this fun project with kids. It was a rainy afternoon, we had strawberries, ice and cookies, but the objective was to craft a pillow for a friend who was going to leave Finland soon. And this gift was a gift from kids.

Each of them got a piece of plexiglas plate, we helped to put paint, and they drew something onto. We had some horses, dragons, fishermen, but also princesses, houses, a mermaid and other simple things. And there has been a toddler as well who simply put some abstract lines and we helped him make a hand print.

The drawing have been made in monoprinting technique, the kids have been using the cotton swabs. We put a piece of cloth onto each plexiglas plate with a drawing and got a print. It's tricky sometimes, as they come out more or less saturated, and the drawing is more or less clear.

This time instead of putting the names of kids, I've made the ABC, because some kids have made two pieces, the ages were different and I wanted to avoid comparison and evaluations. The ABC keeps it more neutral, but adds an interesting detail. and will be useful, since our friend has two small kids who may enjoy having around this fun pillow to read.

Don't be surprised about muted colours, because this pillow was custom made and it simply has to be muted to best fit the home of the recipient, so yes, though it was not exactly a custom order, but sort of what our custom/friend would have expected. Next project will come in vivid colours as usual, I promise!


Friday, May 30, 2014

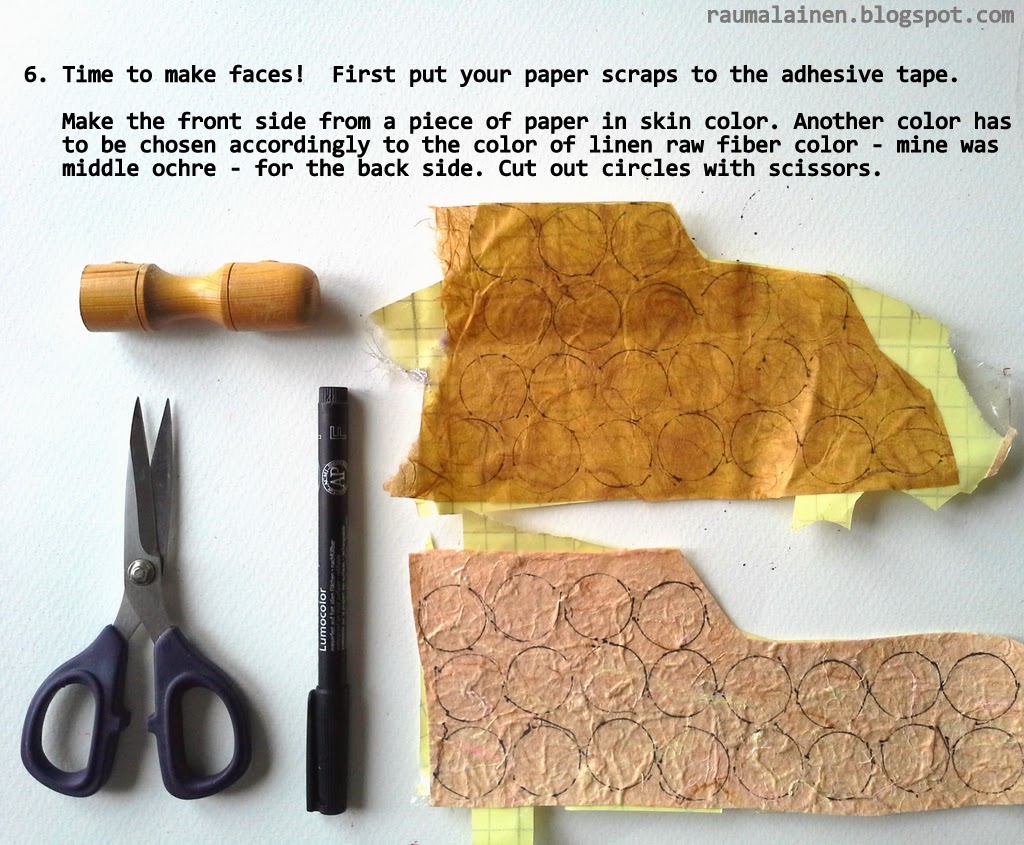
FLOWER PIXIES - DIY-tutorial

Remember, last week I was talking about an upcoming tutorial how to make the flower pixies that were decorating my little girl's invitation cards? Now that's it, it took me a bit longer to get it finished.

Yes, I admit, you need time to make those, but actually the difference between making a couple or a whole bunch of them is not so big. So you better have a project where at least a dozen of them is necessary. Despite of time spent (appr. 2-3 hours) you will enjoy the final look, believe me!

And you know what? That's the project you can endlessly decline for any festive occasion. Need something to decorate a branch for next Easter - take spring Easter colors (yellow, pink, apple green, light blue). For Halloween - orange, some greyish soft lila, greys and blacks. For Christmas - ivory white, golds and some warm greys. They are going to look fantastic if you match nice colours and make a bunch of them.


Saturday, March 15, 2014

Canvas, paint, stencil for a quick craft project WITH kids

Today a little tutorial about how to keep the kids busy for like half an hour with some ordinary acrylic paint, canvas, stencil, bubble-foil, glue and kitchen sponge.

There're FOUR steps:
  • coating the canvas and bubble-foil printing - let dry a couple of minutes. It's just THAT easy, using the kitchen sponge - kids LOVE it.
  • painting banana paper in necessary colors (this step I made alone, banana paper is fragile, so kids can easily tear it, when it gets wet because of paint).
  • sketching flowers, cutting, gluing on the canvas. In our case the kids applied the glue and I helped placing the flowers, because kids would be tempted to make a bouquet all over canvas. For this project flowers had to be in the bottom part, to leave the space for a coming bird. And honestly, I've been so tempted to help them sketch nicely rounded flowers. See, the ours are edgy, irregular and actually not what I'd have expected. But if that's what and how they draw, so why not?
  • after the glue is dry, print the bird (golden paint + stencil + kitchen sponge) and call it a day. The glue from the previous step has to be dry, otherwise, your stencil sticks to the canvas while applying the golden paint.

An the end I wanted to put a message on that canvas. Since this canvas had to be offered to the mum of the kid, we wanted to put something like "For my dear mum", but we hadn't time.

If it's appealing to you, or you're making this as a gift, go consider let you kid write a message on a piece of white silk paper, that you'd glue later when the message is dry. Silk paper becomes almost transparent when dry, and it looks like the message has been written directly on canvas.


Tuesday, March 4, 2014

REcycled pixie - DIY tutorial

RECYCLED ITEMS this time: package cardboard, lace.

Today I'm sharing another short tutorial how to make use of package board and thrifted lace pieces to create some nice pixies/angels or whatever, you name it!

This time it all got started with a piece of old lace (not so old, but thrifted, something synthetic and cheap, but lace-y). The idea was to make advantage of the transparency of the lace, hence make the wings look airy and delicate. 

I tried out ironing the lace pieces between rhodoid plastic sheets.

Ironing them ONTO rhodoid with iron-on fusible interface (like bondaweb) didn't work, lace gets peeled off quickly and doesn't hold. I put the lace IN BETWEEN of two rhodoid sheets, ironed through the baking paper and called it a day. Not bad, my friends, not bad! A bit shiny though, because of rhodoid nature, but it's not bothering me so far. The first idea was getting them rigid with cornstarch, but I wanted it to be more play-proof (because my little girl is constanlty rearranging everything we create, so those pieces need to be torn-resistent).

And another important point is working with different materials:

1) the body of cardboard layers with chalkboard foil, 
2) wings in lace and plastic, 
3) head made of wooden sphere, FIMO, glass and wooden beads (eyes and nose). 

I started with two of them, but the second one is not coming out as I expected, so I have to adjust. Stay tuned, I'm going to get back with more of them.

Next step would be to try out making them with my little girl and seeing which twist would she put on them!