Pages

Friday, February 28, 2014

Zauberwald for Moominvalley

This week has been principally spent working on Moomins, and I'm not working up-front on blog now (I hope only exceptionally), the posts are made one or two days before they go live. As has already been said - it's a project FROM scratch, for the objective was to have something to craft each day during this vacation week. And since the most easy-to-work-with material is package cardboard, so that's what we take ALL THE TIME. Plus we can quickly start anew if for some reason it doesn't pan out. It has been a busy week. Not everything worked as expected, and some elements will be replaced next week. The vacation will be over then, but we still can work a bit afternoon - we have a dozen of days to get it done.

This part is the Moominvalley - which actually doesn't have many trees, except of some firs, and with firs we started. Here are step-by-step pics in case you would be curious how to make them. All the usual suspects - cardboard, layers, white paint. For the upright position we put a wooden stick and I sawed a small piece from a big piece of branch I still have around here (and of which I made the airplane).

After we made those firs and put them near Moomin house it turned out they looked bulky, misplaced, and too cardboard-heavy as a whole, so we weren't finished with them yet.

During one of our walks we grabbed some dry plants and sticks - to imitate and bring some natural vegetation in the scene. Those finds were EASY to fix - a wooden disc, drilled holes, some glue.  

Be sure you check the balance and your piece doesn't tilt. 

After your "tree" stands up and doesn't wobble, glue it. Grabbing those was a matter of minute (all you need is the right size and proportions), making the wooden supports and drilling took about five minutes, arranging and glueing another five and up they go into the scenery! They will actually be present in many scenes - they fit both mountain walk and return to the valley.

I may consider spray painting them in...white? Dark asphalt grey? Bold pink? Have to think about it.

It was a good idea to add those guys made of natural materials, they make the cardboard firs look complete, different and complementing, being put together, the bulkiness has gone and we have a nice Zauberwald in mixed technique.

UPDATE: another element which I had to add was flowers (tulips) - just to break the monotony in height. They'll gonna get some pops of color. 


Thursday, February 27, 2014

REcycling - a toy robot made from scratch

Another fun REcycling project today. 

I first got started with those cubes made of corrugated board (old package boxes). I cut like about a dozen of layers for body and head, and glued them together with white glue, then I sanded and rounded. It was surprisingly stiff and rigid, though it's not water-proof. The best cardboard was from IKEA, because it was thin and hence less mollasse, which it great for making blocks (those of you who attended my craft workshops for kids know I have a thing for re-purposing package boxes - huge thanks for giving them to me!). Yes, practically I could take two pieces of wood, but somehow recycling the carton for body and head was more appealing. I mean wood would look nice, but classic, and I wanted that piece to be funky and really made of scratch.

I make HEAVY use of plastic cups, as you see, I just love them THAT much - only six of them in this project!  Hands/claws were made of FIMO clay that I set on a thread which was reinforced with metal wire. So the arms bend and hold. I oven baked and sanded to get them looking less new. Eyes are FIMO and screws/glue, and the nose is a wooden bead on screw/glue.

And the piece of chalkboard foil to write fun messages was the last detail. It's living right now on our coffee machine, that's why the "I love COFFEE".

I probably should have made pics inbetween, to accompany the process and put another DIY tutorial together, and now I'm only having one pic in the middle of the process. I was not sure this first robot would score a hit, but it did, so the tutorial is coming up! Stay tuned!


Wednesday, February 26, 2014

Scene settings for Comet in Moominland

Our work on "Comet in Moominland" is going on. Those here are scene peeks and the some how-to's about making the Moomin house, making the mountains and the starry sky. They all are drafts from pics taken inbetween and retouched a bit in Photoshop. I cannot show you the final scenes yet - that post is coming in March after our project gets finished, goes live and will be performed.

In next days I'm going to focus on how we made the house, what the mountains look like in final version, and how we made the sky. Stay tuned! By all means it's HARD to talk more right now, it's a BIG job keeping both kids busy following what we have to do, and what I need to do for both of them, for the whole family, house, and my work. I did a big list for this week, and wonder how much we can check off without that someone burns out. Not that easy my friends, but it's sort of gratifying and encouraging, and motivating, and worth all the efforts.

Just some quick notes - the scene setting is about recycling and playing/crafting with my little girl. Yes, I could go and grab a nice rounded Moomin house all ready made (a small plastic one like about 45 cm height), which is a very popular kids toy here, but it wouldn't quite fit the idea, and there would be nothing to craft.  My objective though was to keep us busy and let my little girl develop her own ideas about the piece and elements. Okay, now it's more art directed by me, but she makes some interesting suggestions here and there. 

House: We took scraps of heavy cardboard, package cardboard (corrugated), cut them, and glued. It's getting painted now and there're some details being added. 

Mountains are heavy cardboard with a piece of jute cloth, and then we were pouring caster onto it until we get that geological relief we needed. That's all for today!


Tuesday, February 25, 2014

Upcoming pencil cases

I've talked recently I'd fill my shop with the zipper pouches/pencil cases I've made a dozen of days ago. Still in progress, my friends, still in progress. And one of the reason why that got stuck, is that I'm making another small edition of them, with another quote: SOMETIMES you win, SOMETIMES you learn.  That is going to be a very spring edition - see the colors? Stay tuned, new updates are coming!


Saturday, February 22, 2014

Glitter birds - DIY tutorial

It's still vacation time, so I'm gonna try to share some quick-n-simple crafty projects that you can make with your kids. Please note, my daughter is about five years old, so most of projects are about what you can make with kids of nearly that age.

Today I'm gonna talk about glitter AND how to make happy your kids'  little invites. 

#1 - it's FUN making those birds with your kids. 
#2 - it's great pleasure giving them to her little friends and you should have seen the happiness on their little faces.
#3 - see the #1 and have more fun making them another time after you run out of stock - to reiterate as often as you like it! 

If your kids are that crazy about anything glitter as my little girl is (and most of kids are), then that's THE project they will never get sick of making again and again.

Let me be clear first - I'm NOT that fond of glitter! That was my little girl insisting on taking those bad boys into the cart. I trust her quite often and afterwards am surprised how the odd things she oh-so-badly-needs-to-have-but-me-not-like-first get us started on other fun projects. So I've learned to trust her instincts.

And how would I otherwise make my comets (previous post) and a starry sky for Moomins (post coming up next week)? Glitter is THAT great and perfect for that kind of projects, the results are just amazing for that little amount of work involved.

If you don't have glitter (which normal people NORMALLY do not have around in their normal lives), then go consider getting it and making fun birds on vacation with your kids. We had made five, giving then almost all of them to friends which most of them (especially little friends of my daughter) LOVED that much.


Thursday, February 20, 2014

Comet in Moominland - a little home theater DIY project

It's vacation time - my little girl's kindergarten is closed and she's staying home for a dozen of days. That was the one reason for the project I'm gonna talk about today. We needed something enough long-run to get busy each day every day during that dozen of days - so instead of a long list of short projects there'll be ONE. Another reason was making a special gift for a very special someone to celebrate his anniversary coming in march - and here we come with building up a little home theater for a short piece of story about a Comet in a Moominland. 

We opt for a quick version, but even a short one is pretty ambitious. I mean, yes of course it's principally to keep us busy, crafty, and put our activities into sort of perspective and DEVELOP a project together, watching it evolve from day to day, talking about it, making new things, stepping out of the comfort zone and making new memories.

Moomins are here EVERYWHERE, it's hard to miss them, if you have ever been in Finland with kids, you know what I mean. And recently I came across a book about crocheting Moomins - #1. And we're reading the Comet in Moominland now, and my little girl LOVES the drama around it - #2. That's all - those two put together just asked for a little pestacle (pun intended).

Now all we need are: Moomins (to be crocheted in the coming week), a Comet (see in progress) and FOUR scenery sets (Mooming climbing up the rocks, Moomins in the observatory, Moomins getting back to the valley, saving Snork Maiden, and Moomin family surviving the comet in the cave - Happy END). 

Sounds challenging, right?

Now about the Comet - we got styrofoam balls in THREE sizes, because the Comet IS approaching the Moominland, so it needs to grow bigger from scene to scene. 

We painted those balls in GOLD first, gold mixed with fine copper pigment powder to get more shine out of it. Second, they got a coat of glitter glue AND red and magenta glitter. (NOTE: this step is for someone not freaking out about glitter all around the place, otherwise just paint them in red and gold). Now they are drying. And we're admiring them - so bright, so happy - just what we need during those still grey days with barely snow, lots of clouds, rain, and fog. 

Next step will be to figure out how to make the tail.

Stay tuned and come back to see the progress.


Tuesday, February 18, 2014

About new challenges

Remember at the beginning of January I was talking about the month goals: working in advance, getting regular on the blog? It was about one month ago. A month is over now, and it's working! I appreciate that scheme a lot, but it's still not quite my second nature. That's why those are still goals to work on. As soon as things get more smooth I'll come up with new goals - making little steps, step by step.

BUT! I felt like I needed some new stuff to challenge myself in coming month (I hope you're okay with me beginning the month somewhere in the middle).

And that's the challenge of February-March: as one of major topics for 2014 I've been talking about working more on RECYCLING. And here are the treasures I've brought home from my last trip to the charity shop.

I'd like to have them all turned into useful and cute projects in probably six weeks from now on - by the end of March. You clearly see there're some stuff to make mosaic projects, but also some weird items to figure out what to make of them. For instance that squared keg with no bottom and a routed handle, which I got twice (in the middle line on the left, right under the boat on a wooden plate) - must be something popular, since I've seen like a dozen of them in a shop. Stay tuned, I'll keep you posted.

UPDATE: That month challenge grew bigger as I went another time to a local kirppis (thrift store in finnish) and got back with some more fun wooden items. Come by the end of the week to see the first results.

Monday, February 17, 2014

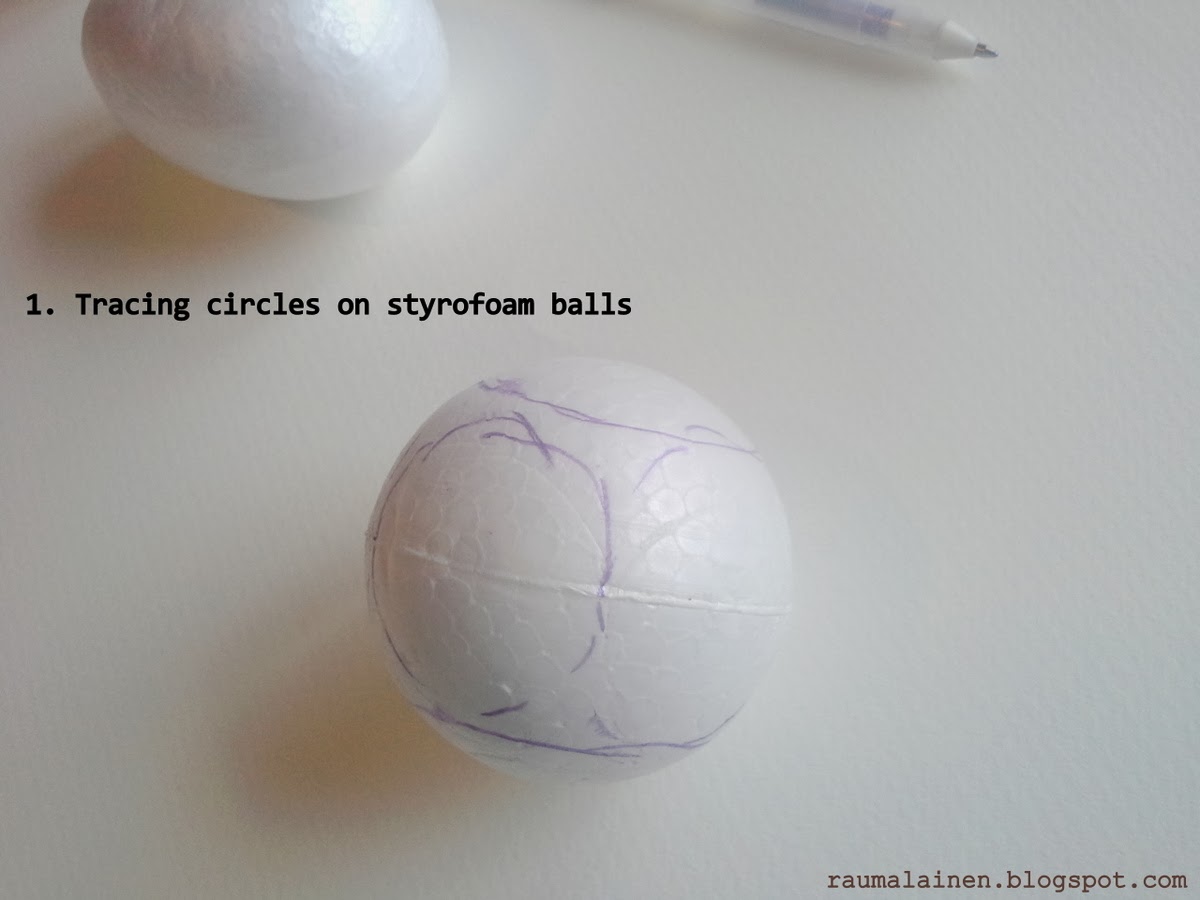
Styrofoam mosaic balls - DIY deco tutorial

Recently I got those bad boys and that sparkled another mosaic idea - styrofoam balls. I think the frame/mosaic theme isn't over, but a bit of change wouldn't harm. Well, these ones are something which is not useful in any way,  and that's why that might be not quite my cup of tea at first appearance, but I enjoyed doing them. 

It's been more tricky as I would have expected, there've been a couple of moments I was THAT close to wave the white flag, and had to start all over again. Not that it's difficult, by all means it's NOT, but you need to be patient and attentive. The tutorial I show you today is about the easiest part - setting the mosaics - which takes maybe about ten percent of time and effort put into the whole project. 

The tricky one was working with plaster, then sanding and then getting the acceptable finish.  Styrofoam, mosaic AND plaster aren't the materials that do a smooth marriage. It's not impossible, as you see, but you'd better be prepared to screw up a couple of them before it runs. And once it runs smoothly, it's pure JOY making them.

Anyway it was the pilot project, they are pretty decorative and eye catching, and I have to figure out what to do with them now and how to turn it into something more easy-going and kind-friendly. 

UPDATE: my little girl hasn't participated, but maybe after I get to understand the materials better we could try out the Eastern eggs in that technique.


Friday, February 14, 2014

How to make double wheels with plastic caps - DIY tutorial

We're making double wheels today. The truck I've showed here on Monday has a skinny carriage, that means it had to be balanced out by chunky wheels and large axes, so that it doesn't cant over with the load, or without. The airplane has been pretty stable, and still is, with the single wheels, but that car model clearly "asked" for double wheels. And double wheeled we went.

quick note though: to get them assembled safely and minimize the break risk I pulled the wheels off from axes right after baking, put some strong glue into each wheel and got them back together. Now they can surely tolerate more off-road tours. 

And about the whole process all-in-all: I'm far away from thinking it's the best way of making wheels for a vehicle, and of course I need time to see how child-proof it is and how much use it can endure before getting broken, but for now it's enough. I have to experiment with another materials, re-using, re-purposing and trying to find a way how to improve that system. That car is running slightly "duck-y", which means I haven't adjusted the wheels well enough. That's not necessarily bugging me, but still something I'd like to get better next time. I'll keep you posted!


Wednesday, February 12, 2014

NEW pencil cases

Last week I've shared a preview of surfaces I was making for those ones, and now they are ready. All four of them. Looking like pencil cases, but that's maybe because I'm constantly carrying an amount of pencils around and loosing them, and I have a thing for cute pencil cases anyway. Those pouches can as well contain any other items.

It's done as usual - LOT of surface treat on the front side - paint coating, hand printing, free hand doodling, applique free motion stitched with sewing machine and in needle-turn technique (the yellow piece "LIFE is ABOUT"). I've also added a piece of corduroy, hand printed for more textural interest. Backside is now just corduroy. 

Those pencil cases are zipped, they are fully lined with cotton-linen blend, and are lined in between with some non-woven reinforcement batting to give them more sturdiness and volume, so that they have a nice grip.

That's the short description: I'm going to list a couple of them next week in the Etsy shop, come over to see more close-ups. I'll keep you posted.